
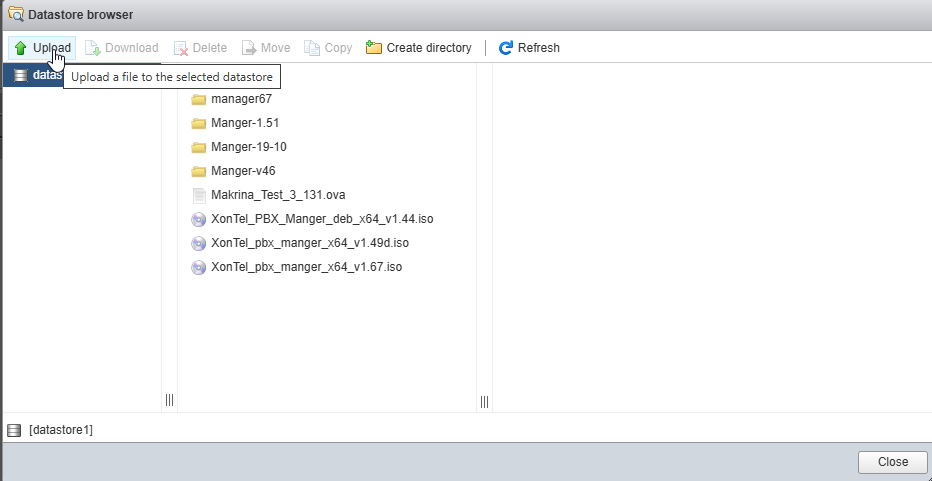
Upload the ISO to ESXi
1-Log in to your ESXi web interface.
2-Go to Storage > Select datastore > Datastore browser.

3-Create a new folder (optional) and upload the PBX ISO.
Create a New Virtual Machine
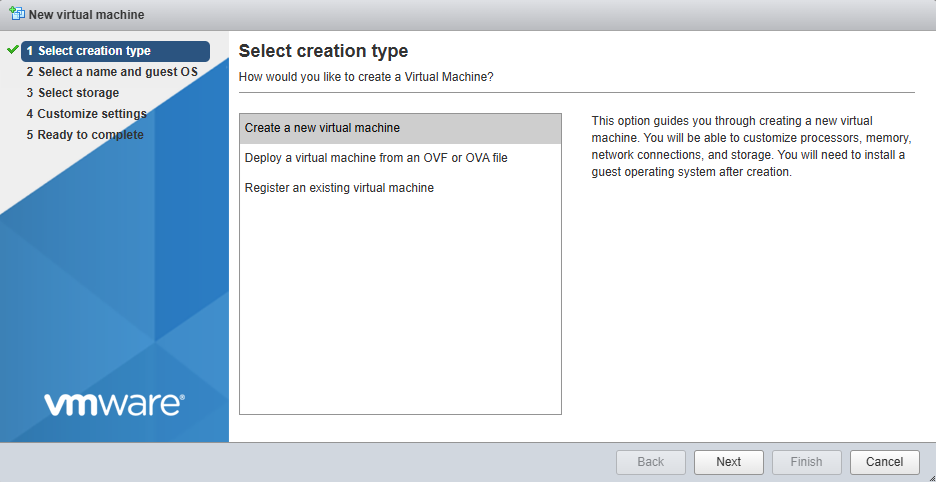
1-Click Create / Register VM.
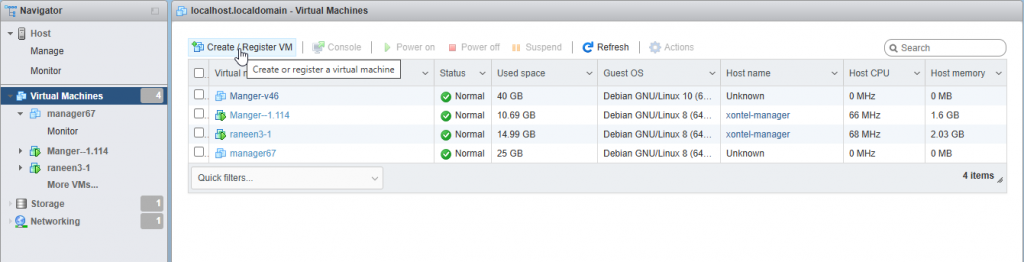
2-Select Create a new virtual machine.
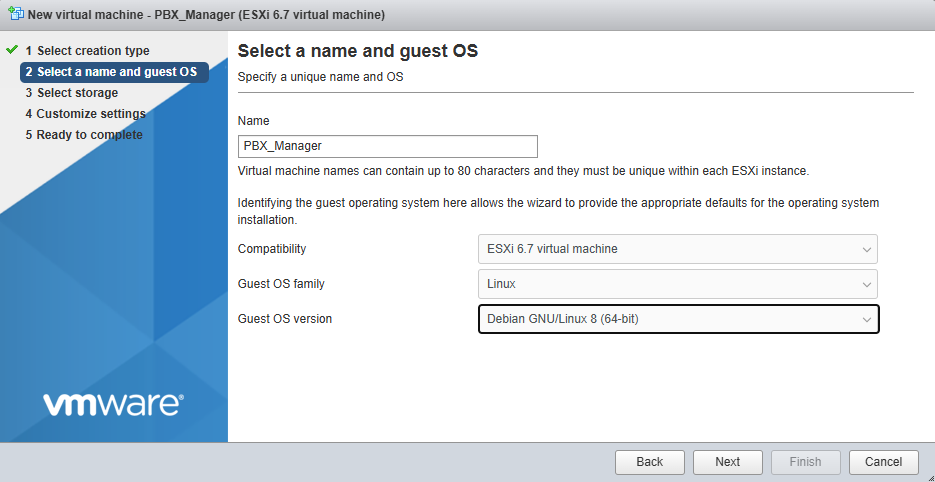
3-Enter VM name (e.g., PBX_Manager).
Select:
- Compatibility: ESXI
- Guest OS Family: Linux
- Guest OS Version: Debian
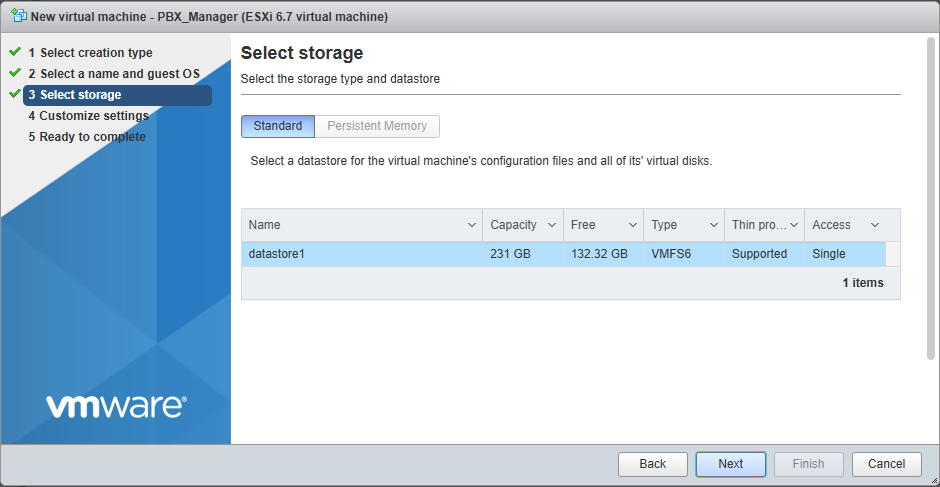
4-Storage
Select a datastore for the virtual machine.
5-Configure VM Hardware
- CPU: Allocate resources based on your expected system usage
- Memory: Allocate memory according to the expected system usage
- Hard Disk: Provision storage based on anticipated system requirements
- Network Adapter: VMXNET3 or E1000
- CD/DVD Drive: Select the uploaded PBX ISO

Save the configuration.
Boot the VM and Start Installation
1-Power on the VM.
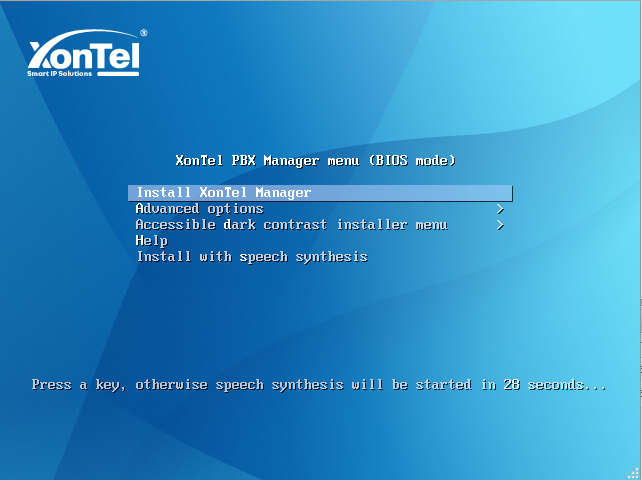
2-Open the console.
3-Select Install XonTel Manager from the boot menu.
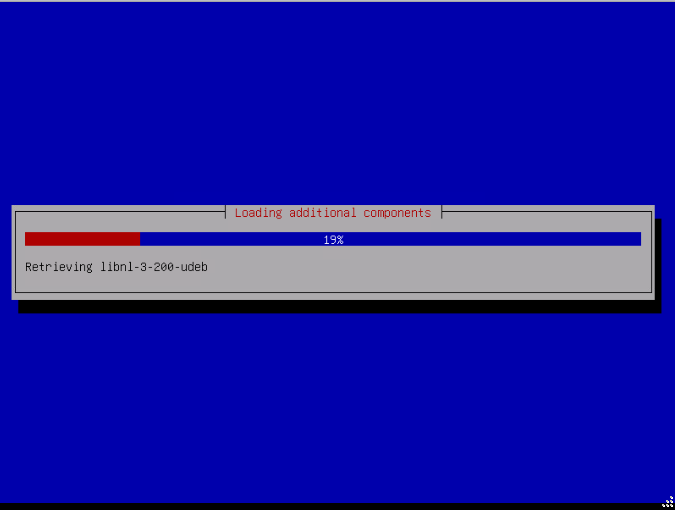
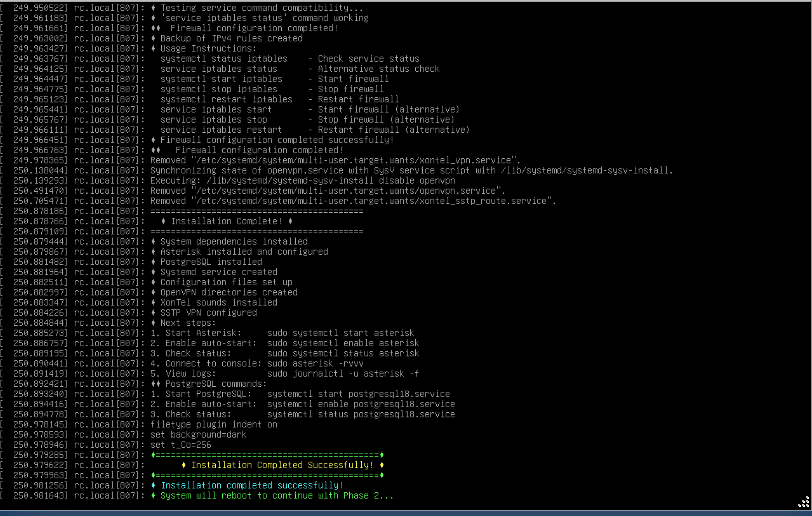
Follow the On-Screen Installation Steps
The installer will perform actions such as:
- Installing system dependencies
- Configuring Asterisk and PostgreSQL
- Setting firewall rules
- Enabling services
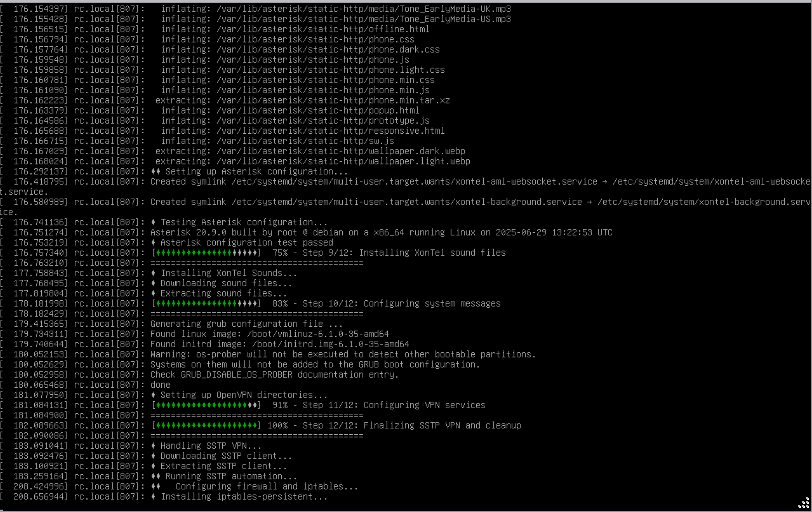
At the end, you should see Installation Completed Successfully. The system will reboot automatically.
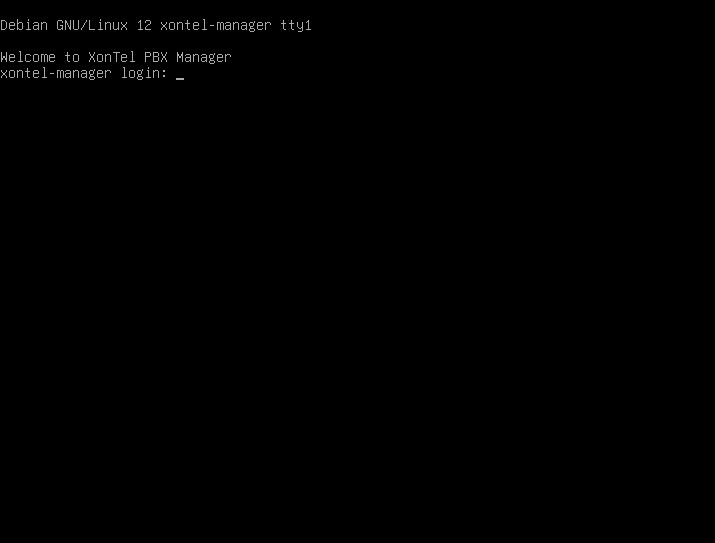
First Login After Reboot
Once the system boots, you will see a login screen:
Enter SSH username and password.
Access the Web Interface
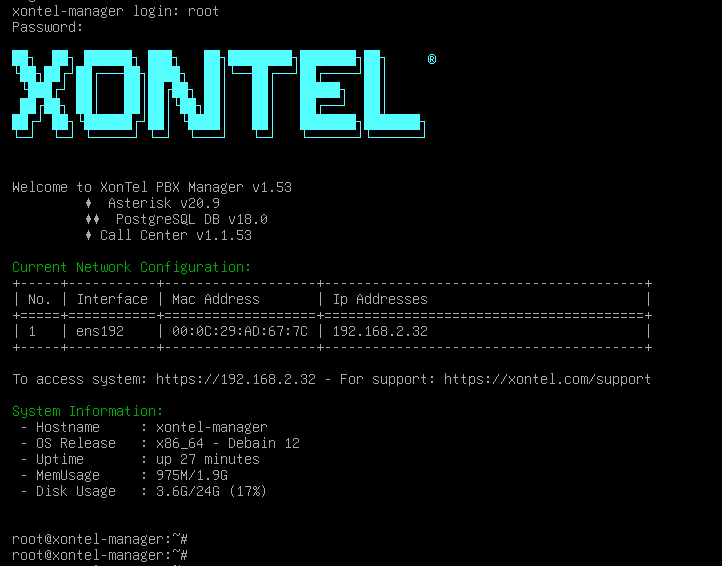
Open a browser and navigate to:
https://192.168.2.32