
After installing XonTel Manager PBX, the administrator must complete the first login and activation process before accessing the PBX management interface. This process verifies the system license, secures the administrator account, and enables the required login protection features.
First Login After Installation
1.Enter Default Administrator Credentials
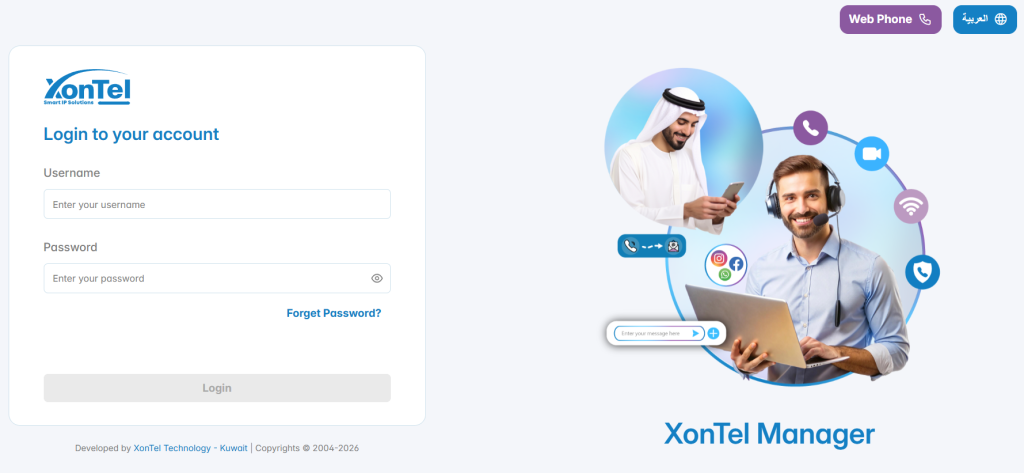
Open the XonTel Manager PBX web interface using the server address or system URL provided after installation.
On the login page, enter the default administrator username and password. These credentials are used only for the initial access after installation.tion.
2. Activate the License
After logging in with the default credentials, the system displays the License Required page because the device is not yet activated.
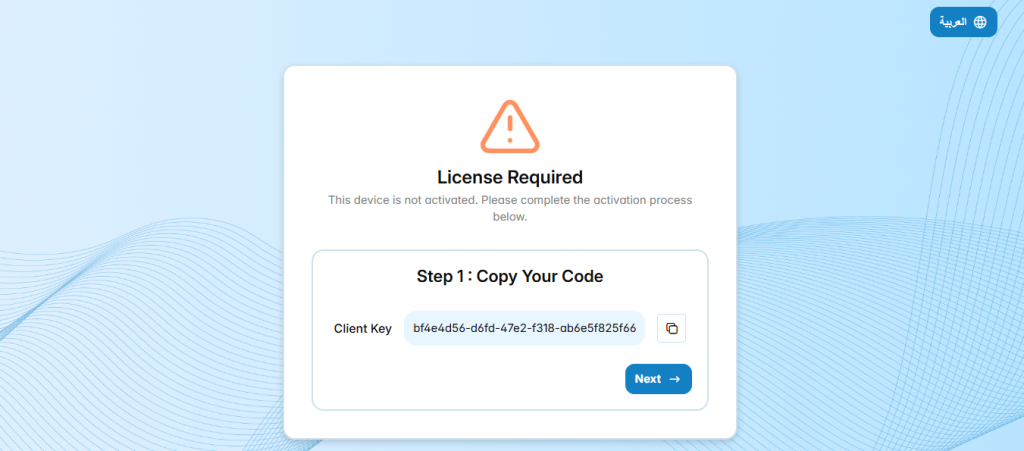
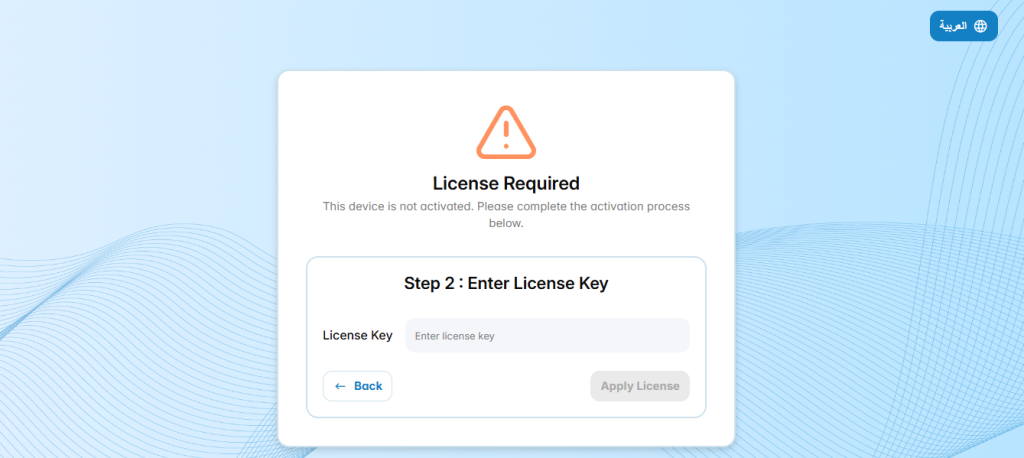
The license activation process includes two steps:
- Step 1: Copy Your Code
Copy the displayed Client Key and provide it to the licensing team or use it in the license generation process. - Step 2: Enter License Key
Enter the provided License Key and click Apply License to activate the system.
After successful activation, the PBX becomes licensed and ready to continue the first login security process.
3. Complete CAPTCHA Verification
If CAPTCHA is enabled, the system requires the administrator to complete a verification challenge. Enter the characters shown in the CAPTCHA image and submit the form.
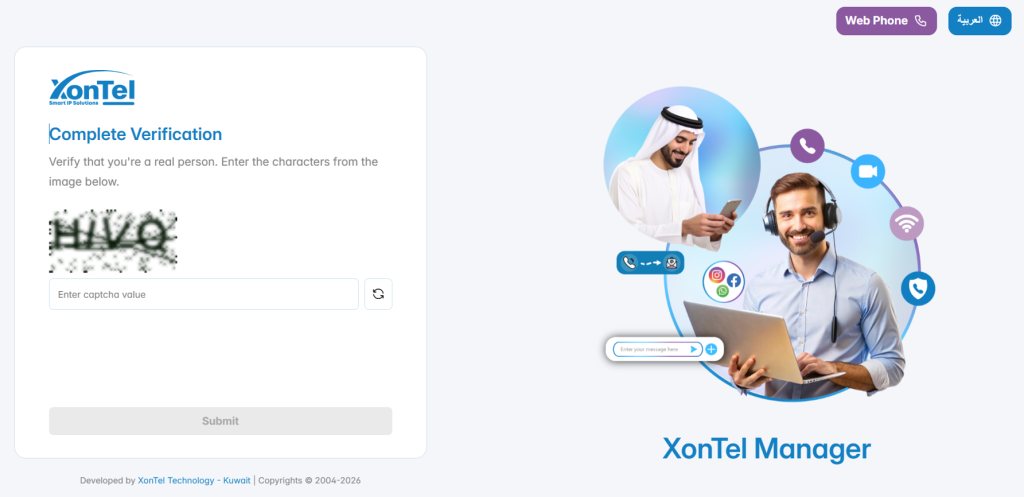
CAPTCHA helps protect the login page from automated access attempts and brute-force attacks.
4. Verify Email for OTP
After CAPTCHA verification, the administrator must verify the email address used for OTP delivery.
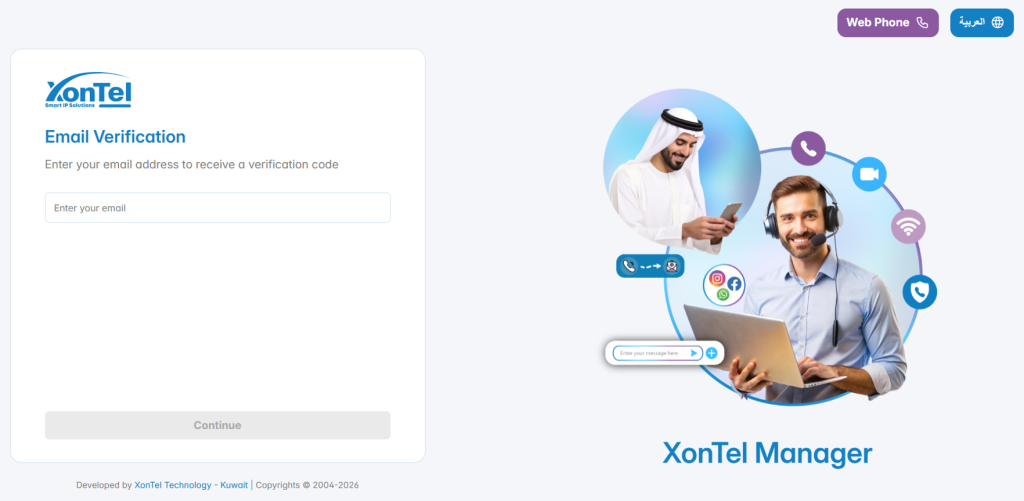
The system sends a one-time verification code to the registered email address. The administrator must enter the code before continuing. This step confirms that the email address is valid and can receive OTP codes for secure login.
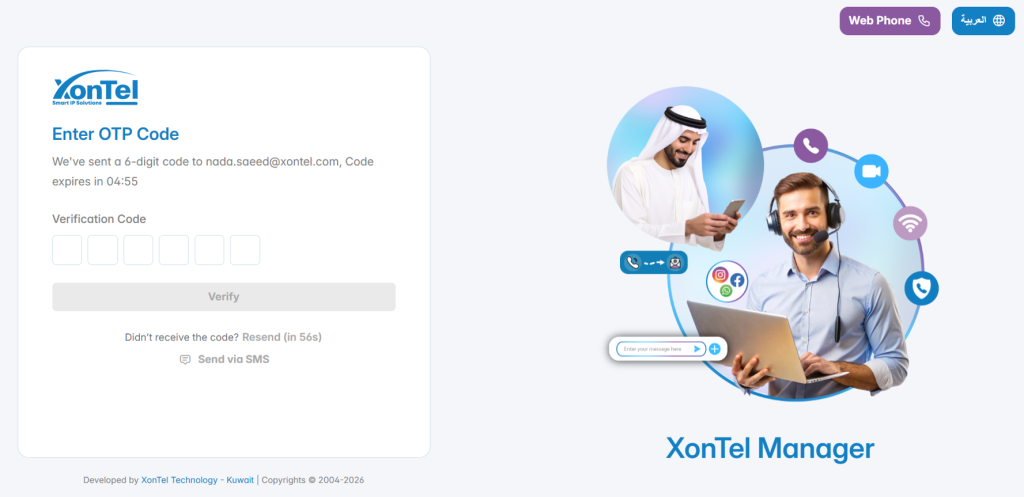
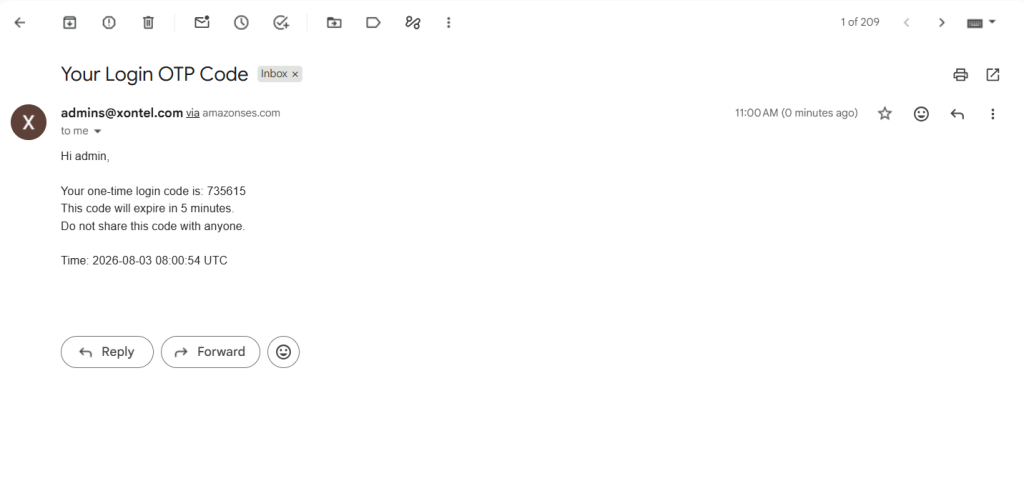
If SMS delivery is configured and a mobile number is available, OTP may also be sent by SMS.
5. Change Default Password
After completing license activation and verification, the system requires the administrator to change the default password.
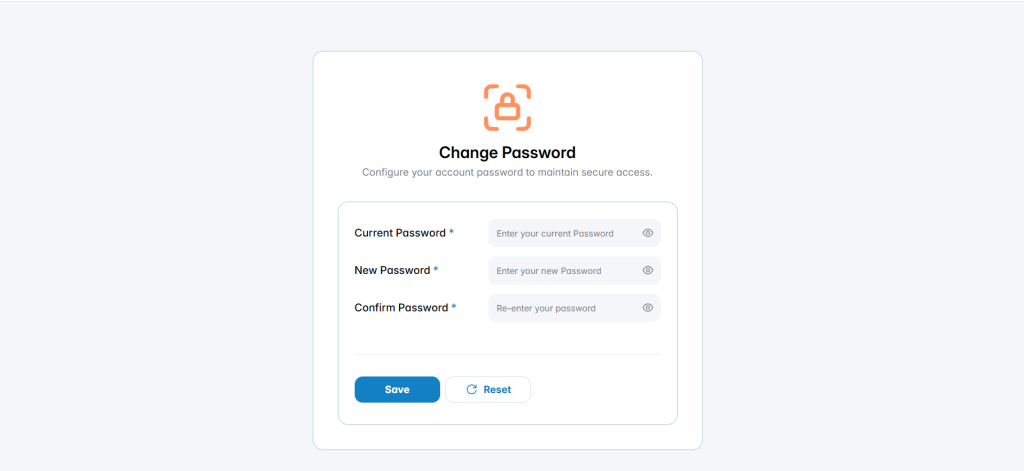
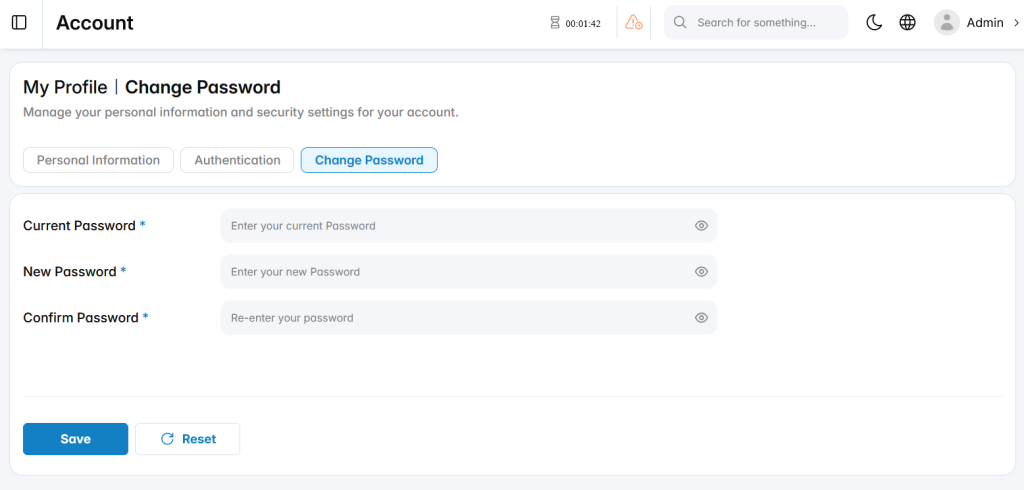
The Change Password page includes the following fields:
- Current Password: Enter the current default or temporary password.
- New Password: Enter a new secure password.
- Confirm Password: Re-enter the new password to confirm it matches.
Changing the default password is required to secure the administrator account before using the system.
6. Login with the New Credentials
After the default password is changed successfully, the administrator should log in again using the updated username and new password.
This confirms that the new credentials are active and that the administrator account is secured. After successful login, the administrator is redirected to the XonTel Manager PBX Dashboard and can begin configuring extensions, trunks, call routing, users, security settings, and system services.
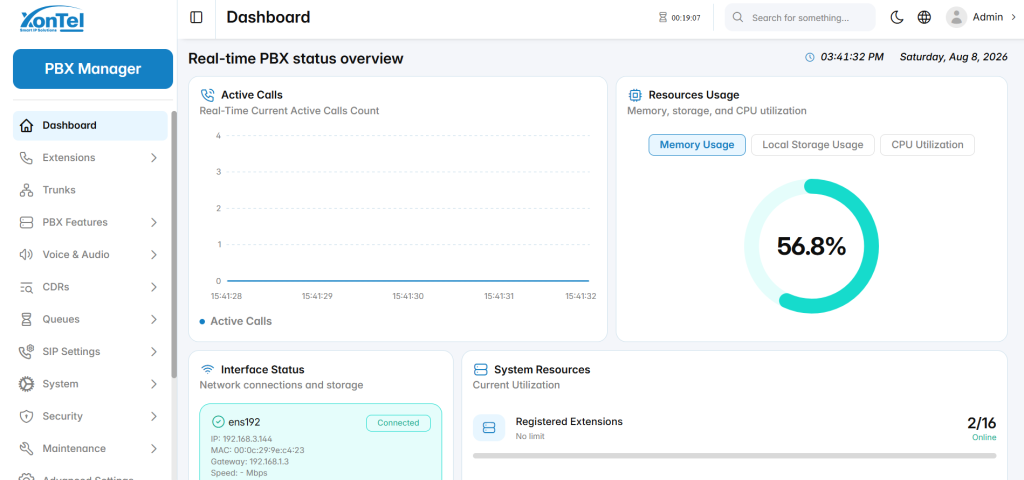
Managing Account and Personal Preferences
Account Menu
The account menu is available from the top-right corner of the interface. It provides quick access to user-related actions and system configuration options.
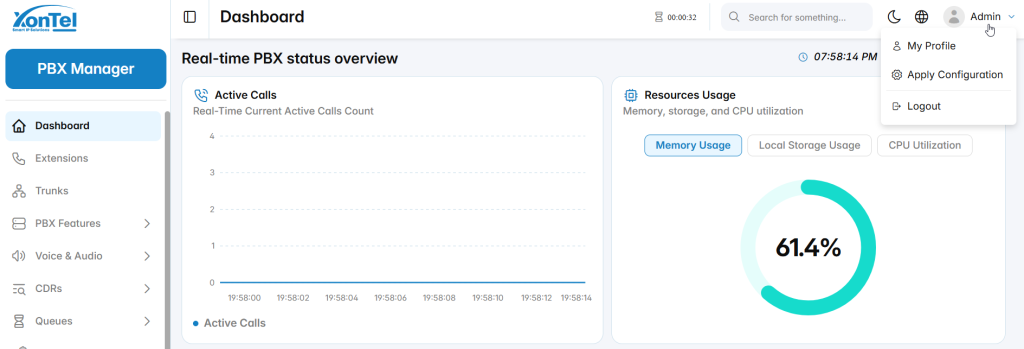
The account menu includes:
- My Profile: Opens the account profile page, where the user can manage personal information, authentication settings, and password changes.
- Apply Configuration: Applies pending PBX configuration changes to the running system.
- Logout: Ends the current user session and returns to the login page.
My Profile
The My Profile section allows the logged-in user to manage personal account information and security settings.
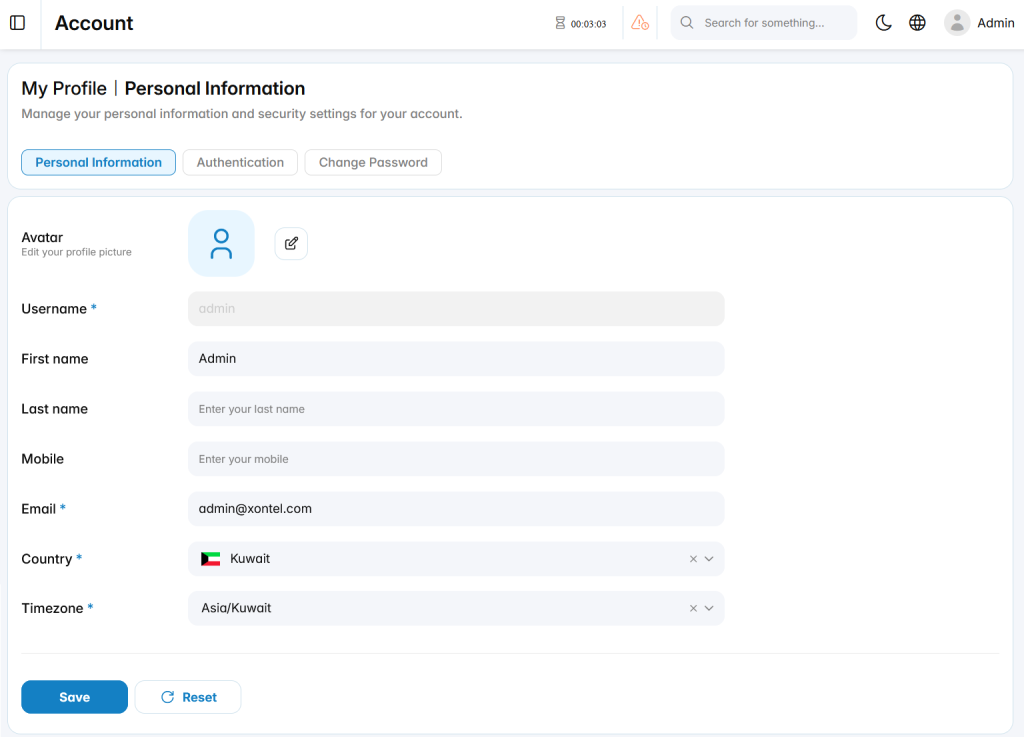
Personal Information
The Personal Information tab allows the user to update profile details, including avatar, first name, last name, mobile number, email address, country, and timezone.
Authentication
The Authentication tab allows the user to manage login security options.
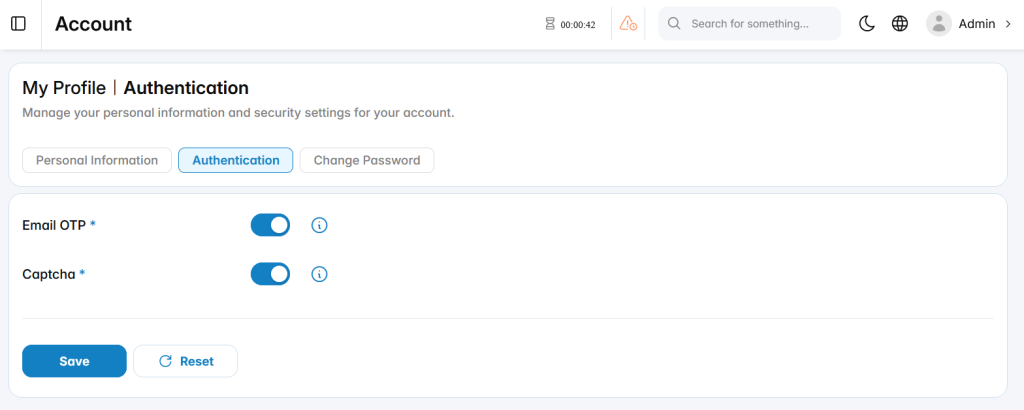
including:
- Email OTP: Requires a one-time verification code during login.
- Captcha: Requires CAPTCHA verification to protect the account from automated login attempts.
Change Password
The Change Password tab allows the user to update the account password by entering the current password, the new password, and password confirmation.
Forget Password
The Forgot Password process allows users to reset their account password when they cannot access the system using their current login credentials. The reset process verifies the user’s email address and allows a new password to be created securely.
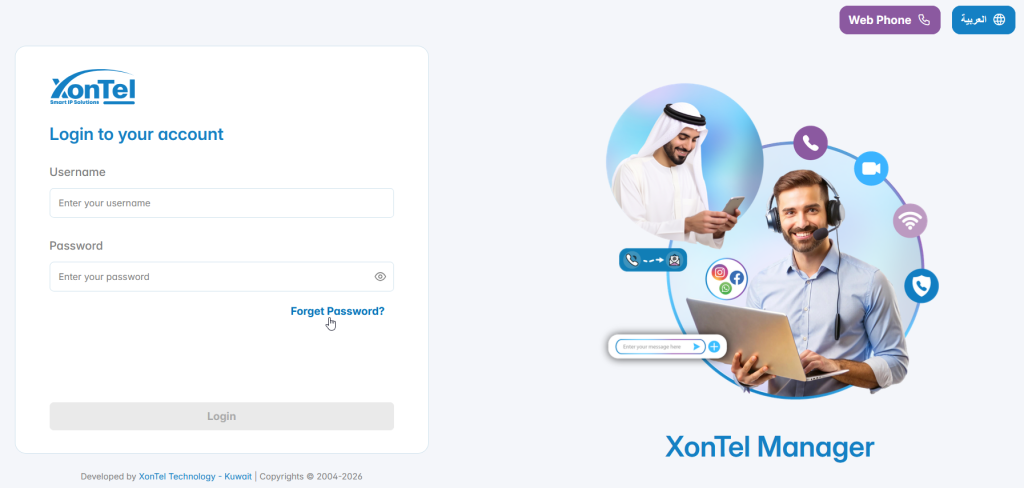
1. Open the Login Page
Go to the XonTel Manager login page.
On the login form, click Forgot Password? under the password field.
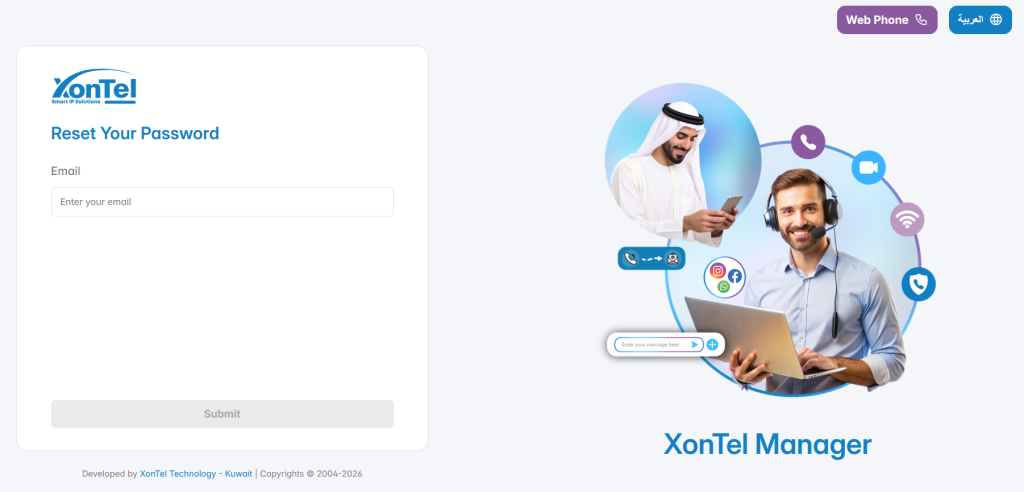
2. Enter Email Address
Enter the email address linked to the user account, then click Submit.
3. Verify the Reset Request
After submitting the email address, the system verifies whether the email exists and is associated with an active user account.
If the email is valid, the system sends a reset link to the registered email address.
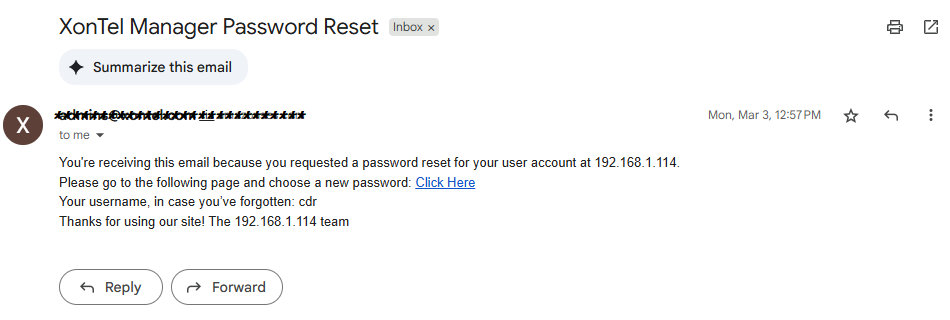
- You will receive an email titled “XonTel Manager Password Reset” from the system.
- The email includes:
- A password reset link (
Click Here) - Your username (in case you forgot it)
- The system address where the request was made
- A password reset link (
Note: If the email doesn’t appear in your inbox, check your spam/junk folder.
4. Create a New Password
Open the password reset link or continue from the verification step, then enter the new password.
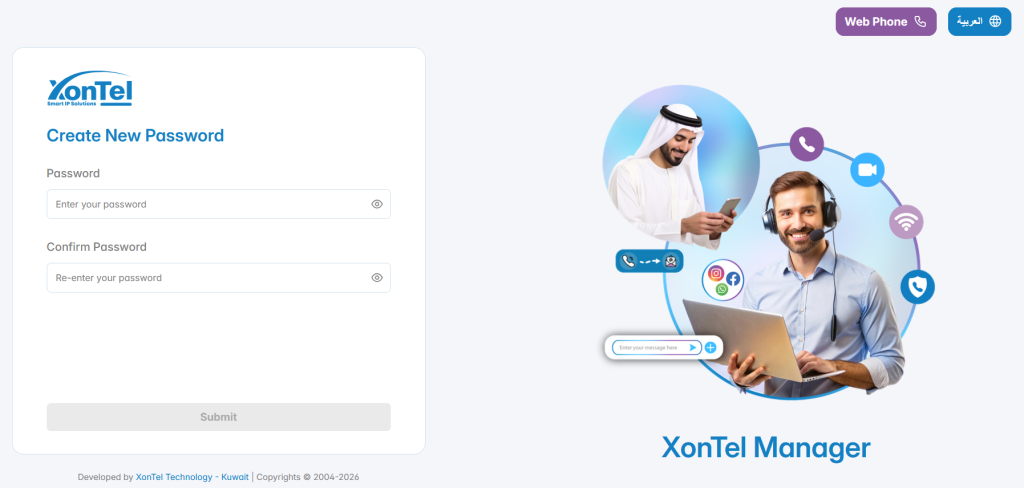
- Enter a new secure password that meets all the following requirements:
- Minimum of 12 characters
- At least one lowercase letter (a–z)
- At least one uppercase letter (A–Z)
- At least one number (0–9)
- Re-enter the new password in the Confirm Password field.
- Click Submit.
5. Login with the New Password
After the password is reset successfully, return to the login page and sign in using the username and the new password.
This completes the password recovery process and restores access to the XonTel Manager PBX account.